Dusting is one of those chores that many of us do, yet it can often be overlooked or not done as effectively as it could be. As a fundamental part of household cleaning, dusting plays a crucial role in maintaining a clean and healthy living environment. Whether you tend to dust quickly before guests arrive or have a dedicated cleaning regimen, it is essential to understand the do's and don'ts of dusting to maximize your efforts and achieve the best results.
In this blog post, we will explore the key principles of effective dusting, common mistakes people make, and provide you with a comprehensive guide on how to dust properly. By avoiding these pitfalls and following best practices, you can keep your home spotless and reduce allergens and irritants in your living space.
Before diving into the do's and don'ts of dusting, it is vital to understand why dusting is so important. Regular dusting helps to:
Improve Indoor Air Quality: Dust is made up of various particles, including dirt, pet dander, pollen, and human skin cells. Regular dusting reduces these particles in the air, leading to better air quality and fewer respiratory issues.
Prevent Allergies and Health Issues: Dust can harbor allergens that trigger allergic reactions and exacerbate asthma symptoms. Regular dusting can minimize exposure to these triggers, promoting better health for you and your family.
Protect Surfaces and Belongings: Dust can scratch and tarnish surfaces, furniture, and electronics. Dusting helps to maintain the integrity and appearance of these items, prolonging their lifespan.
Create a Clean and Welcoming Environment: A dust-free home not only looks better but feels more inviting. It enhances your living space and promotes a sense of well-being.
With this understanding, let’s explore the do's and don'ts of effective dusting.
Using the appropriate tools for dusting is crucial to achieving the best results. Here are some tools that will help you effectively remove dust:
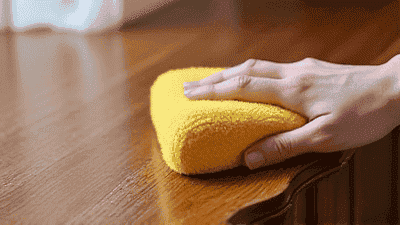
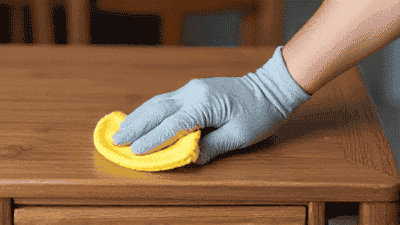
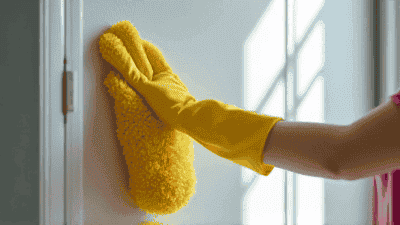
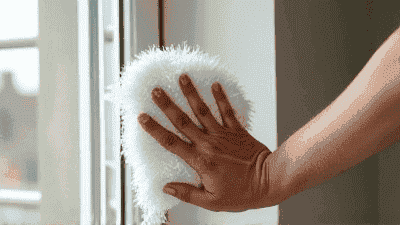
Microfiber Cloths: These cloths are highly effective at trapping dust and debris. Their fine fibers can capture dust without spreading it around, making them ideal for most surfaces.
Feather Dusters: Feather dusters can be useful for quickly removing dust from delicate items or hard-to-reach areas. They work well on furniture but may be less effective on flat surfaces that require more direct cleaning.
Vacuum with Dusting Attachments: A vacuum cleaner equipped with a dusting brush is great for removing dust from carpets, upholstery, and hard-to-reach corners.
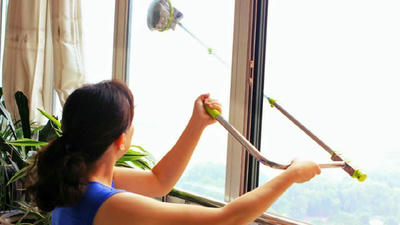
Extendable Dusting Tools: For high places, like ceiling fans and tall shelves, an extendable duster allows you to reach without using a ladder.
An effective dusting technique starts from the highest surfaces and works downward. Dusting from top to bottom prevents dust from falling onto areas you have already cleaned. For example, when dusting a room, start with ceiling fans or tall shelves, then move to lower surfaces like tables and countertops.
Instead of dusting the entire house in one go, consider dividing your cleaning into sections. Focus on one room or area at a time, thoroughly dusting and cleaning before moving to the next. This method allows you to give each area the attention it deserves and makes the task feel more manageable.
Different surfaces require different dusting techniques. For hard surfaces like wood or glass, use a microfiber cloth and wipe in straight lines or circular motions. For furniture with intricate details, consider using a soft brush or feather duster to get into crevices.
A dusty or dirty dusting tool will spread dust rather than remove it. Regularly wash microfiber cloths and clean your dusters to ensure they are effective. Replace or clean vacuum filters as needed to maintain optimal suction and dust collection.
Establishing a regular dusting schedule is key to maintaining a clean environment. How often you dust will depend on your home and lifestyle. High-traffic areas and homes with pets may require more frequent dusting, while less frequently used rooms may need attention every couple of weeks.
Dusting can be a physically demanding task, especially in larger homes. Take short breaks to avoid fatigue and maintain your energy levels. Keeping your motivation high means you will be more diligent about the job.
Avoid using steel wool, scrub brushes, or any abrasive materials when dusting. These can scratch surfaces and damage finishes, particularly on delicate items such as furniture or electronics. Stick to soft cloths and brushes designed for dusting.
Many people neglect to dust electronics, assuming that they do not gather dust. However, TV screens, computers, and speakers can accumulate dust quickly. Use dry microfiber cloths designed for electronics to prevent the buildup of dust and ensure they function efficiently.
When using cleaning solutions, do not spray them directly onto the surface. Instead, spray the cleaner onto your dusting cloth and then apply it to the surface. This prevents overspray and potential damage to surrounding areas.
Skipping areas or rushing through dusting can lead to ineffective cleaning. Take your time to thoroughly dust all surfaces, including knick-knacks, shelves, and baseboards. Being deliberate ensures a more comprehensive clean.
While a damp cloth can be effective for some surfaces, using it on others might lead to damage. For instance, using a wet cloth on wooden furniture can cause water damage. Always ensure you are using the correct technique and moisture level for each surface.
Waiting until surfaces are visibly dusty can lead to increased health risks and more significant cleaning efforts. Adopt a proactive approach by dusting regularly, reducing the risk of allergens and improving indoor air quality.
Air vents and registers collect dust over time, which can be circulated throughout your home. Regular dusting of these areas ensures that the air quality remains clean and reduces the burden on your HVAC system, promoting energy efficiency.
Throughout the dusting process, you may encounter challenges or make mistakes that could hinder your efforts. Here are some common mistakes to avoid:
Many people tend to use one cloth for multiple surfaces, which can lead to cross-contamination and ineffective cleaning. Keep separate cloths for kitchen surfaces, bathrooms, and general dusting to avoid spreading germs.
Decorative items often collect dust but are frequently overlooked during dusting sessions. Make it a point to dust each item carefully, using a soft cloth or brush to avoid damage.
Dust can accumulate under and behind large pieces of furniture. Don’t neglect these areas; regularly move furniture to access those hard-to-reach spots during your cleaning routine.
Using too much dusting spray can lead to a sticky residue that attracts more dust. Use sparingly and consider using a dry microfiber cloth for quick dusting between deep cleanings.
Using a dirty duster or cloth will only move dust around rather than remove it. Always start with clean tools to ensure effective dusting.
Many people will dust the surfaces they can see easily but neglect those that are out of sight, such as the tops of cabinets or light fixtures. Regularly check these areas to prevent dust from accumulating.
Adopting proper dusting techniques will yield various benefits for you and your home:
Regular dusting lowers the levels of allergens and irritants in your home, improving indoor air quality and promoting better respiratory health. Reduced dust levels can lead to fewer allergy symptoms and a healthier living environment.
A regularly dusted home looks cleaner and more inviting. Dust-free surfaces enhance the overall look of your living space, making it more enjoyable for you and welcoming for guests.
Dust can cause wear and tear on your furniture and decorative items. Regular dusting protects these items, helping them retain their appearance and functionality over time.
By adhering to proper dusting techniques, you can make your overall cleaning process more efficient. Dusting regularly will make subsequent deep cleaning sessions quicker and easier.
While it may not seem like it, regular dusting can significantly reduce your workload over time. By preventing heavy dust buildup, you can avoid tedious cleaning sessions in the future.

To incorporate effective dusting into your cleaning routine, consider creating a dusting schedule tailored to your household needs. Here is a suggested framework:
Dusting is a critical element of home cleaning that should not be overlooked. By adhering to the do's and don'ts of dusting, you can reduce allergens, maintain the beauty of your home, and promote a healthy living environment. Remember to use the right tools, dust regularly, and avoid common mistakes to achieve the best results.
With a well-structured dusting routine, you can enjoy a cleaner, more inviting home while reducing health risks associated with dust accumulation. Embrace these practices, and you will find that dusting becomes a simpler and more effective task, contributing positively to your overall home care routine.